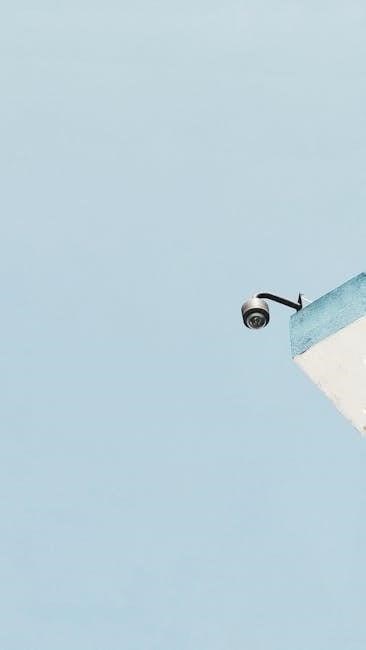
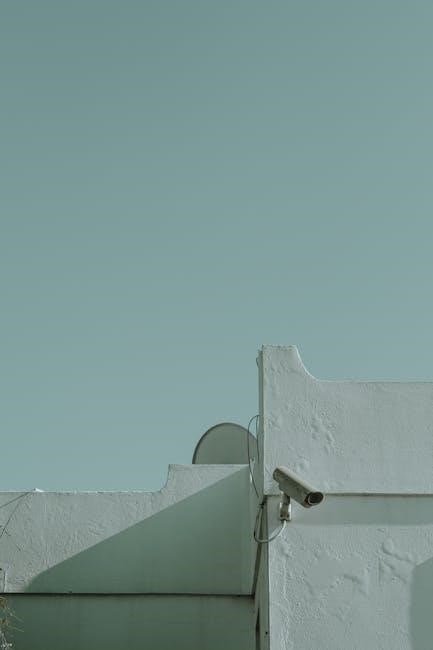
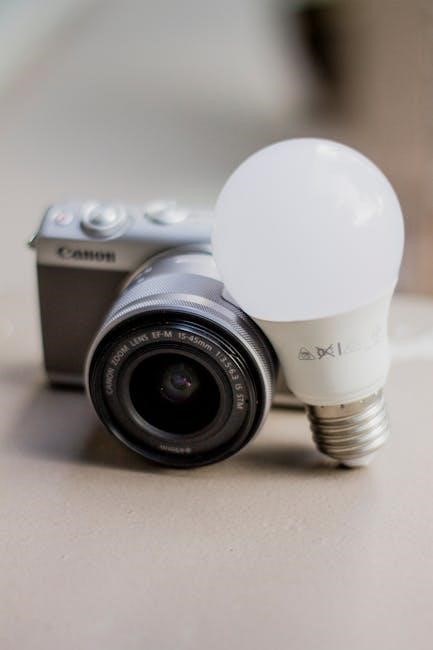
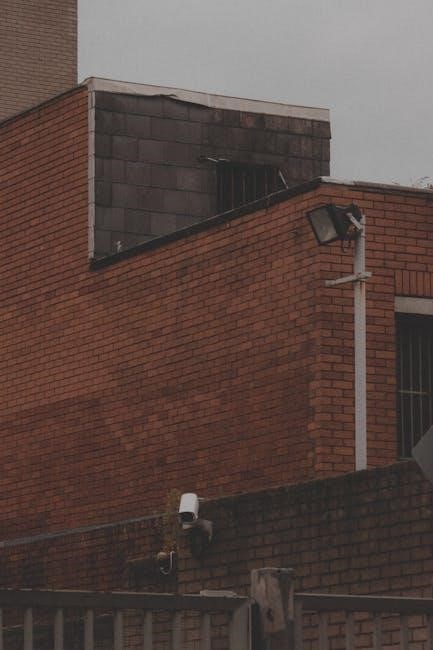
Light bulb security cameras are innovative devices that combine the functionality of a traditional light bulb with the advanced features of a surveillance camera. These devices are designed to provide discreet security solutions, making them ideal for both indoor and outdoor use. Often equipped with HD video resolution, motion detection, and Wi-Fi connectivity, these cameras allow users to monitor their surroundings in real-time through a smartphone app.
One of the standout features of light bulb security cameras is their ease of installation. They are typically screwed into a standard light socket, eliminating the need for complex wiring or additional hardware. Many models, such as the Lorex 2K Wi-Fi Lightbulb Camera, offer 360-degree panoramic views, ensuring comprehensive coverage of the area. Some cameras also support two-way audio, enabling users to communicate with visitors or deter intruders remotely.
These devices are often integrated with smart home systems, allowing users to adjust lighting settings, such as brightness and color temperature, while also accessing camera feeds. Additionally, features like auto-tracking and alarm functions enhance security by alerting users to suspicious activity. Light bulb cameras are a practical and versatile option for anyone looking to enhance home or office security without compromising on convenience or aesthetics.
With their dual-purpose design, light bulb security cameras are a modern solution for seamless surveillance, offering peace of mind and flexibility for various settings.
Installation and Physical Setup
2.1. Preparing for Installation
Before installing your light bulb security camera, ensure you have all the necessary components and tools; Most models come with the camera bulb, a user manual, and sometimes a mounting bracket or adapter for different socket types. Verify that your light socket is compatible with the camera bulb, as most devices are designed for standard E27 or E26 sockets. If you’re unsure, consult the product specifications or contact the manufacturer.

Additionally, ensure your Wi-Fi network is stable and that your smartphone or tablet has the appropriate app installed for camera setup. Some models, like the Galayou G6, require downloading specific software for configuration and remote monitoring.
2.2. Physical Installation Steps
Installing a light bulb security camera is typically straightforward and requires minimal technical expertise. Follow these steps:

- Turn Off Power: Before handling any electrical components, switch off the power to the light fixture at the circuit breaker or fuse box. This ensures your safety during installation.
- Remove the Existing Bulb: Gently twist and pull the current light bulb to remove it from the socket. If the fixture has a glass cover or shade, you may need to remove it first to access the bulb.
- Insert the Camera Bulb: Take the light bulb security camera and screw it into the socket in a clockwise direction until it is firmly seated. Ensure it is securely attached to avoid loose connections.
- Restore Power: Turn the power back on at the circuit breaker or fuse box. The camera bulb will begin to power up, and you may see an indicator light (e.g., blue or red) signaling that it is ready for setup.
2.3. Network Connection and Initial Setup
Once the camera is physically installed, the next step is to connect it to your Wi-Fi network and configure it using the accompanying app. Here’s how to proceed:
- Open the App: Launch the app associated with your camera model (e.g., YCC365plus, Sight Bulb App, or Wansview). If you haven’t already, create an account or log in if you have one.
- Add the Device: Tap the “Add Device” or “+” button in the app to begin the pairing process. The app will guide you through the steps to connect the camera to your Wi-Fi network.
- Enter Wi-Fi Password: Select your Wi-Fi network from the list of available options and enter your password. Ensure you are connecting to the correct network, as some devices may not support 5GHz networks.
- Wait for Connection: The camera will attempt to connect to the network. This process may take a few minutes, during which the indicator light may flash or change color.
- Complete Setup: Once connected, the app will prompt you to name the device (e.g., “Front Porch Camera”) and set up additional features like motion detection or notifications.
2.4; Mounting and Adjusting the Camera
After the camera is powered on and connected to the network, you may need to adjust its position for optimal coverage. Many light bulb cameras, such as the Lorex 2K model, offer 360-degree rotation and tilting capabilities, allowing you to angle the lens toward the desired area.
If your camera comes with a mounting bracket, follow these steps:
- Detach the Camera: Some models allow you to remove the camera from the bulb housing for independent mounting. Use the provided screws or clips to secure it to the bracket.
- Mount the Bracket: Attach the bracket to a wall, ceiling, or other stable surface. Ensure it is level and positioned to capture the desired field of view.
- Reattach the Camera: Secure the camera to the bracket and adjust its angle as needed. Tighten any screws to ensure stability.
2.5. Testing the Camera
Once the camera is installed and configured, perform a test to ensure it is functioning properly:
- Check the live feed through the app to verify video quality and coverage.
- Test motion detection by moving around the camera’s field of view and ensuring notifications are triggered.
- Adjust the camera’s position or settings if necessary to improve performance.
2.6. Key Considerations
When setting up your light bulb security camera, keep the following tips in mind:

- Ensure the camera is placed in a location with an unobstructed view to maximize its effectiveness.
- Regularly update the camera’s firmware and app to maintain security and functionality.
- Check local laws and regulations regarding surveillance to ensure compliance.
- Consider the camera’s power source; most models rely on the light socket for power, so ensure it is not controlled by a dimmer switch.
By following these installation and setup steps, you can quickly and easily integrate a light bulb security camera into your home or office, enhancing your security system with minimal effort.