
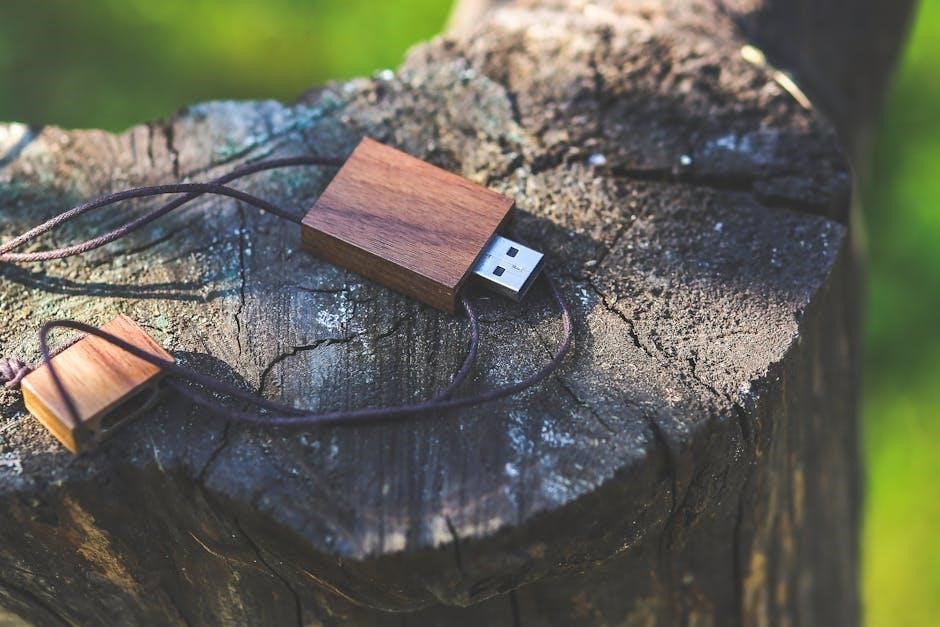
The SignaLink USB is a high-performance sound card interface designed for amateur radio operations, combining the SL-1’s legendary performance with a built-in low-noise sound card for optimal digital mode functionality.
1.1 Overview of the SignaLink USB
The SignaLink USB is a versatile sound card interface designed for amateur radio, enabling seamless communication in digital modes. It combines the renowned SL-1 performance with a built-in low-noise sound card, eliminating the need for external audio devices. Compatible with USB 1.1 and 2.0 ports, it simplifies connectivity and ensures high-quality audio transmission for various ham radio applications.
1.2 Key Features and Benefits
The SignaLink USB offers a built-in low-noise sound card, eliminating external audio devices’ need. It supports multiple digital modes like RTTY, SSTV, and CW, ensuring versatility. Compatible with USB 1.1 and 2.0 ports, it provides easy connectivity. The device comes with a radio cable, USB cable, and software disc, making it a comprehensive solution for amateur radio enthusiasts, enhancing communication quality and operational efficiency.

Installation and Setup
Installation involves connecting the SignaLink USB to a computer’s USB port and installing drivers. The device is plug-and-play, with software configuration following for optimal performance.
2.1 Physical Connection to the Computer
Connect the SignaLink USB to a standard USB 1.1 or 2.0 port on your computer using the provided USB cable. Ensure the computer is powered on before attaching the device. The unit is bus-powered, requiring no external power source. Once connected, the device is ready for driver installation and configuration. A radio cable is also required for transceiver connection.
2.2 Driver Installation and Initial Configuration
Plug the SignaLink USB into a USB port with the computer powered on. Windows will detect the device and prompt for driver installation. Use the drivers provided on the software disc or download the latest version from the official website. Follow the installation wizard to complete the process. Once installed, use the provided software to configure settings for optimal performance with your radio equipment.

Configuring the SignaLink USB for Radio Operation
Configure the SignaLink USB by connecting the radio cable, setting jumper modules for compatibility, and adjusting audio levels to ensure optimal performance with your amateur radio equipment.
3.1 Connecting the Radio Cable
Connect the provided radio cable to the SignaLink USB’s radio port, ensuring compatibility with your specific radio model. Secure the connection firmly to maintain reliable communication between the SignaLink and your radio equipment. Refer to the manual for cable compatibility and proper connection procedures to avoid any issues during setup.
3.2 Setting Up Jumper Modules for Compatibility
To ensure optimal performance, install the appropriate jumper module for your radio model. Locate the correct pins on the SignaLink USB as specified in the manual. Gently place the jumper on the designated pins to establish the proper configuration. Verify the connection is secure to avoid signal issues. Testing the setup after installation is recommended to confirm compatibility and functionality.
3.3 Adjusting Audio Levels and Settings
Adjusting audio levels is crucial for optimal performance. Access the SignaLink USB’s audio configuration through your computer’s control panel or specific software. Balance the radio’s microphone gain and audio output levels to avoid distortion. Fine-tune settings like gain, threshold, and compression based on your radio model. Test the audio quality to ensure clear transmission. Save the configuration once optimal levels are achieved for consistent operation.

Operating the SignaLink USB
The SignaLink USB operates seamlessly with various digital modes, offering easy configuration and compatibility with multiple operating systems. It supports both legacy and modern modes efficiently.
4.1 Using the SignaLink USB with Digital Modes
The SignaLink USB seamlessly supports various digital modes, including RTTY, SSTV, and CW. It is compatible with legacy and modern modes, offering high-quality audio transmission. The device is powered directly via USB, eliminating the need for external power. Its built-in sound card ensures low-noise operation, enhancing clarity in digital communications. Configuration is straightforward, with software settings easily adjustable for optimal performance.
4.2 Monitoring and Adjusting Performance
Monitor the SignaLink USB’s performance using software meters for TX and RX audio levels. Adjust settings to optimize signal quality, ensuring proper modulation without distortion. Use the built-in sound card controls to fine-tune audio levels and minimize interference. Regularly check power supply stability to maintain reliable operation. Adjustments can be made via software, ensuring consistent and high-quality digital communications.

Technical Specifications
The SignaLink USB features a built-in low-noise sound card, supporting USB 1.1 and 2.0 interfaces. It is compatible with Windows, macOS, and Linux operating systems, ensuring versatile performance across digital modes and voice operations. The device includes jumper modules for customization and comes with a standard USB cable for easy connection.
5.1 Hardware Components and Capabilities
The SignaLink USB includes a built-in low-noise sound card, jumper modules for radio compatibility, and a standard USB cable for connection. It supports USB 1.1 and 2.0 interfaces, ensuring reliable performance across various operating systems. The device is powered directly via the USB port, eliminating the need for external power supplies. Its compact design integrates seamlessly with amateur radio equipment, providing a robust interface for digital and voice modes.
5.2 Supported Operating Systems
The SignaLink USB is compatible with Windows 10, Windows 7, and Windows 8.x operating systems. It also supports macOS and Linux with additional software configurations. Tigertronics provides updated drivers and firmware to ensure optimal performance across these platforms, making it a versatile choice for amateur radio enthusiasts using diverse operating systems.

Troubleshooting Common Issues
Ensure the SignaLink USB is properly connected to a powered USB port. Restart the computer and verify the device is recognized. Update drivers to the latest version and check for hardware conflicts. If issues persist, consult the official manual or contact technical support for further assistance.
6.1 Resolving Connectivity Problems
Ensure the SignaLink USB is connected to a powered USB port and the computer is turned on. Restart the system and verify device recognition. Update drivers to the latest version and check for hardware conflicts. If issues persist, consult the official manual or contact technical support for further assistance. Proper installation and configuration are key to resolving connectivity problems effectively.
6.2 Addressing Audio Quality Concerns
To resolve audio quality issues, ensure proper grounding to eliminate noise or hum. Use high-quality audio cables and verify connections. Adjust audio levels in software and hardware to avoid distortion. If issues persist, check for driver updates or consult the manual for troubleshooting steps. External filters can also enhance audio clarity in challenging environments.
Accessories and Cables
Essential accessories include compatible radio cables, jumper modules, and USB connectors. Optional audio filters and adapters enhance performance for specific radio setups and operating conditions.
7.1 Compatible Radio Cables and Adapters
The SignaLink USB includes radio-specific cables and jumper modules for seamless compatibility with various transceivers. These cables ensure proper signal routing and power management. Optional adapters are available for less common radios, while jumper modules simplify configuration. Always use the correct cable to avoid damage and ensure optimal performance across different radio models.
7.2 Optional Audio Filters and Enhancements
Optional audio filters can enhance sound quality by reducing interference and noise. These filters are designed to optimize digital mode performance. Additional accessories like external microphones or headsets can be connected via adapters, providing improved audio clarity. Ensure compatibility with your specific setup for the best results, as outlined in the manual.

Software and Firmware
The SignaLink USB works with popular software for digital modes, features a built-in sound card, and requires firmware updates and driver installations for optimal performance.
8.1 Recommended Software for Digital Modes
For optimal performance, use software like FLDIGI, Ham Radio Deluxe, or WSJT-X. These programs support various digital modes and integrate seamlessly with the SignaLink USB. Configuration is straightforward, with clear settings for sound card selection and audio levels. Ensure compatibility by updating drivers and firmware regularly for enhanced functionality and stability across all digital communication platforms.
8.2 Updating Firmware and Drivers
Regularly update the SignaLink USB’s firmware and drivers to ensure optimal performance. Download the latest versions from the official Tigertronics website. Backup your current settings before updating. Follow the installation instructions carefully to avoid configuration issues. If problems arise, refer to the troubleshooting section or contact technical support for assistance. Updates often improve compatibility and enhance functionality.
Best Practices for Optimal Use
For optimal performance, regularly update firmware, maintain proper audio levels, and ensure a stable power supply. Follow the manual’s guidelines for configuration and usage.
9.1 Maintaining Proper Audio Levels
Maintaining proper audio levels is crucial for clear communication. Adjust the gain controls to avoid distortion, ensuring levels peak below 100%. Use the software controls to fine-tune settings for optimal clarity and performance. Regularly check and adjust levels to prevent overheating and ensure reliable operation.
9.2 Ensuring Stable Power Supply
To ensure stable operation, connect the SignaLink USB to a reliable USB port with sufficient power. Avoid using low-quality USB hubs that may cause voltage drops. For optimal performance, use a powered USB hub if connecting multiple devices. Regularly check for firmware updates and maintain a clean power supply to prevent interference or hardware malfunctions.

Support and Resources
The SignaLink USB is supported by comprehensive resources, including the official manual, installation guides, and technical support. Visit the Tigertronics website for assistance.
10.1 Accessing the Official Manual and Guides
The official SignaLink USB manual is available on the Tigertronics website, providing detailed instructions for installation, operation, and troubleshooting. It includes guides for connecting the device to your transceiver, enabling digital modes, and configuring settings. The manual also covers basic functions, technical specifications, and setup peculiarities, ensuring users can maximize their experience with the SignaLink USB.
10.2 Contacting Technical Support
For assistance with the SignaLink USB, visit the official Tigertronics website or contact their support team directly via email or phone. Ensure to include your device model, operating system, and detailed issue description for efficient troubleshooting. Support is available during business hours, and online resources are accessible 24/7 for quick solutions.